

Earlier this year I finished up the redecoration of a condo on the Upper West Side for the most adorable young family ever and I’m excited to share some before and afters from the project with you here! The clients purchased their condo a few years prior to us working together but never managed to make it feel like a home. They wanted a new look for their apartment that felt more polished and grown up. The priorities were the combined living/dining room followed by the master bedroom and eventually, the kids room (more on that in a future post). Their biggest issue was that their space felt dark and mismatched so I helped them create a beautiful home that now feels airy, fresh and sophisticated. Let’s take a look…
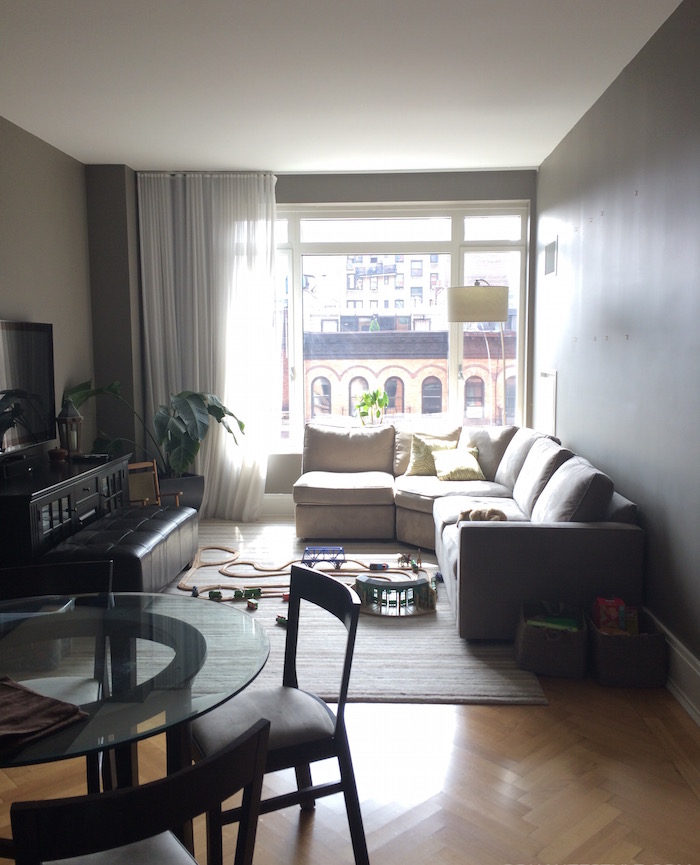
Living Room Before
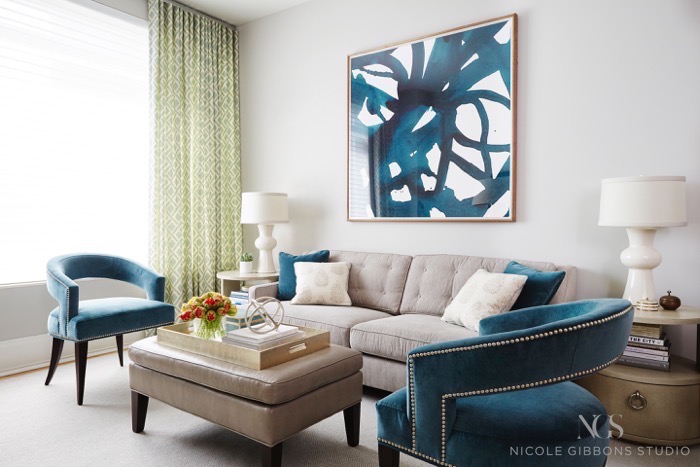
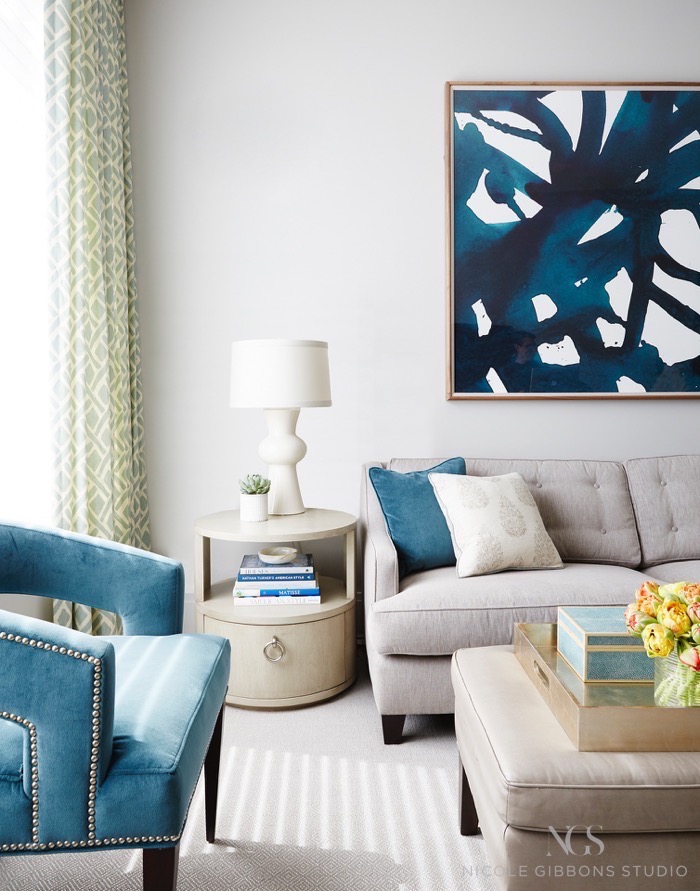
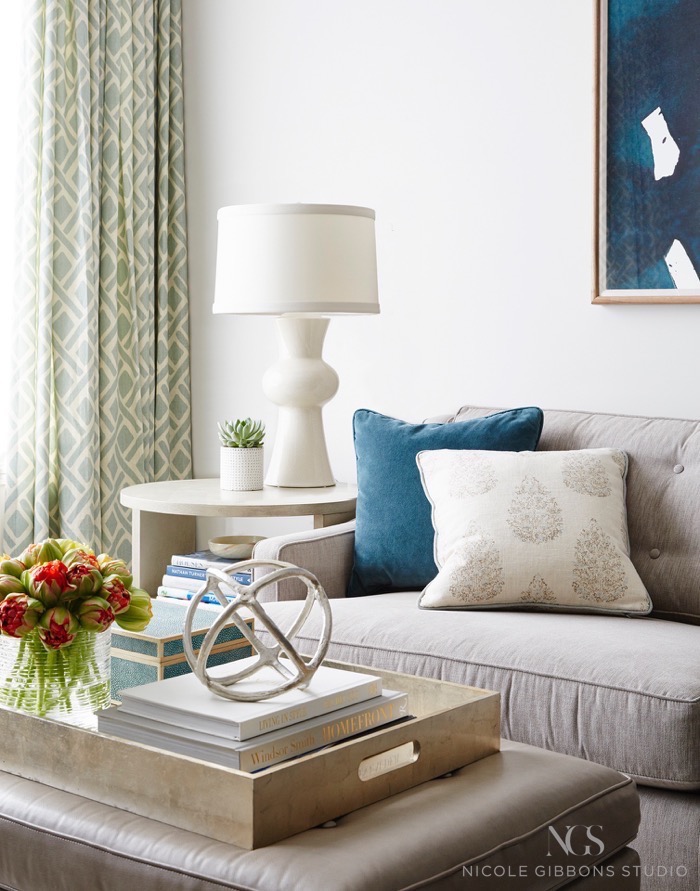
Living Room After
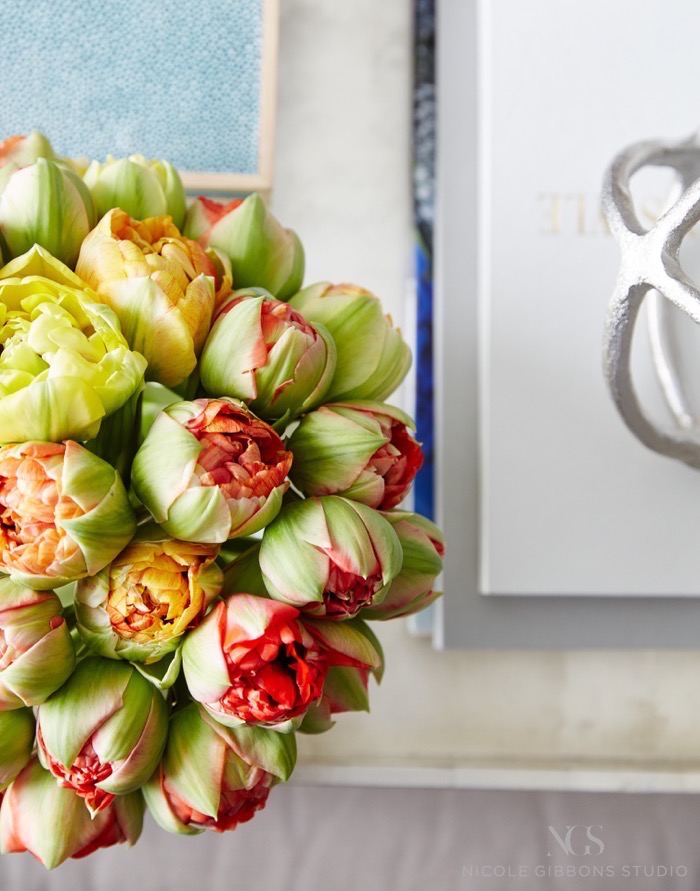
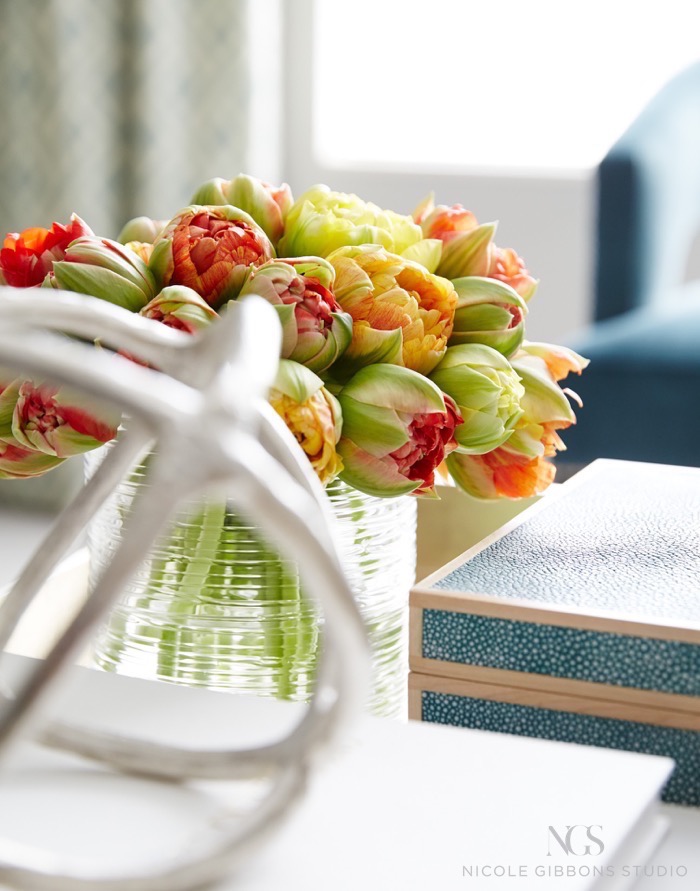
I’m so in love with how the room turned out – it feels much more open, airy and serene with just enough color to give the space some enegry! The clients wanted a mostly neutral palette but we chose lovely shades of teal for a pop of color against a soft gray backdrop. The room gets such beautiful natural light but the choice of color for the walls, Benjamin Moore’s Nimbus Gray, helps reflect even more light, creating an almost ethereal glow in the room during peak sun hours. People often argue when they see before and afters of interiors, that the dramatic afters are the result of professional photography lighting but for this shoot we took advantage of the beautiful natural light pouring through the windows. So pretty right? Because the couple has two small children, we made sure none of the furniture had hard edges. We also used performance fabrics wherever we could and had the non-performance fabrics treated with teflon for extra stain resistance. The coffee table ottoman is covered in a vinyl that wipes down easily. Aside from creating a unified color palette, we also brought in the perfect little accents to tie the space together and give it a polished look.
Dining Area Before
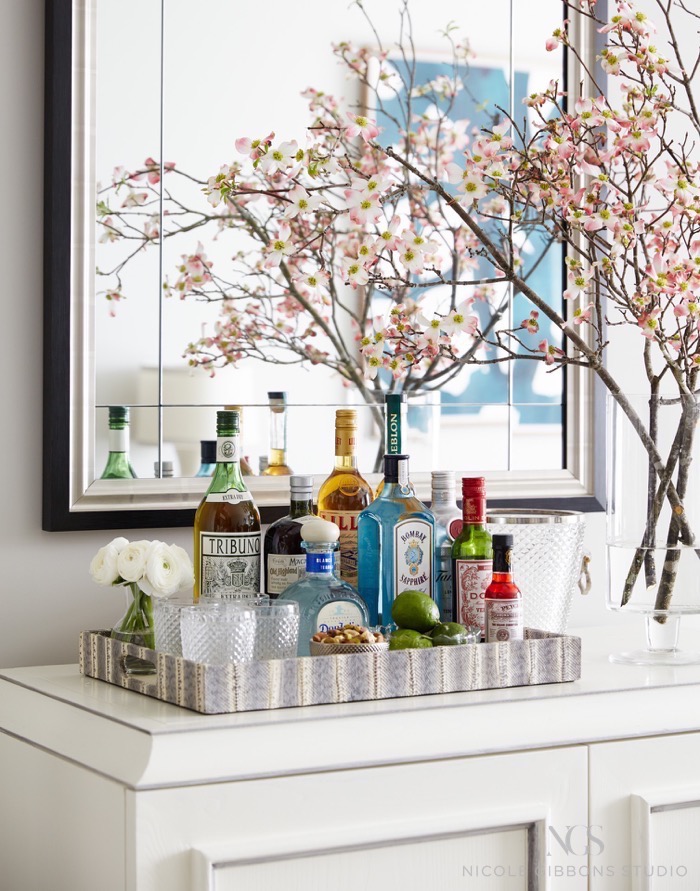
DINING AREA after
In the dining area, we reused the clients existing table and added new upholstered chairs covered in a novasuede fabric which has a beautiful softness and texture. Their previous armoire felt out of scale for the room, so we brought in a smaller buffet cabinet with a paneled mirror above which helps reflect more light and creates the illusion of a larger space. The couple often hosts friends for drinks so I styled the top as a chic bar for entertaining. The updates are simple but the impact is significant! 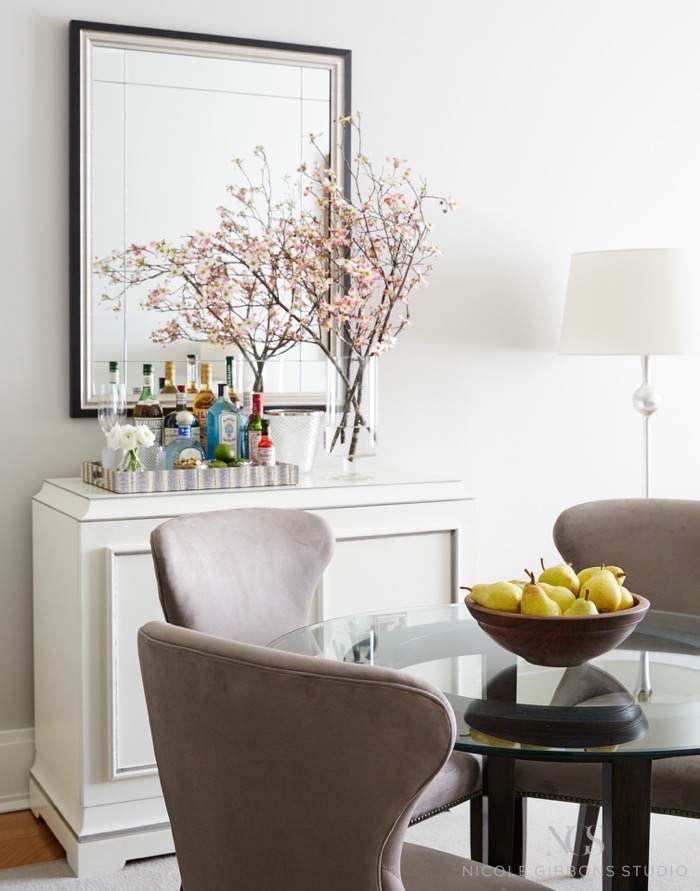
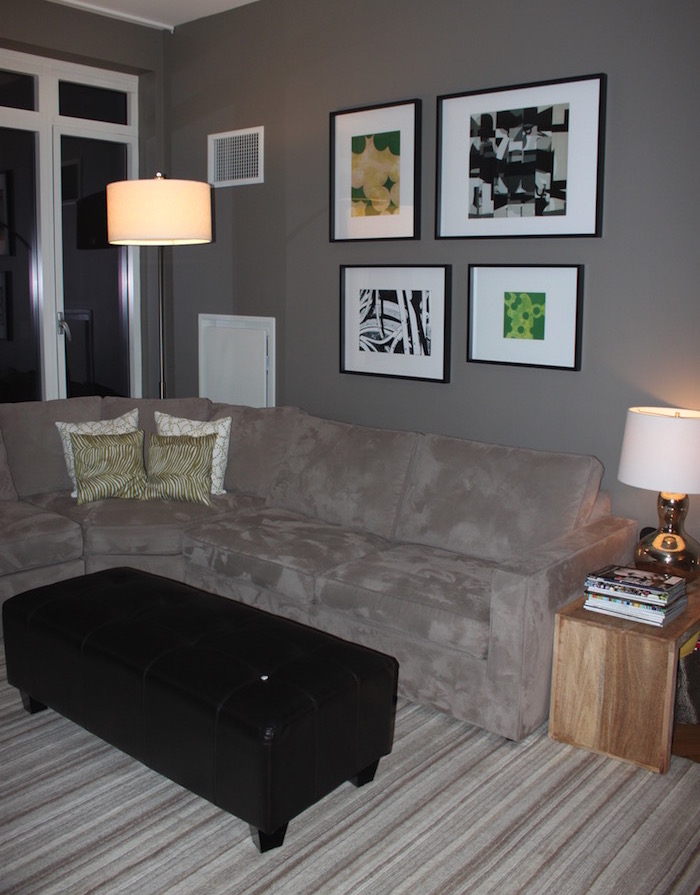
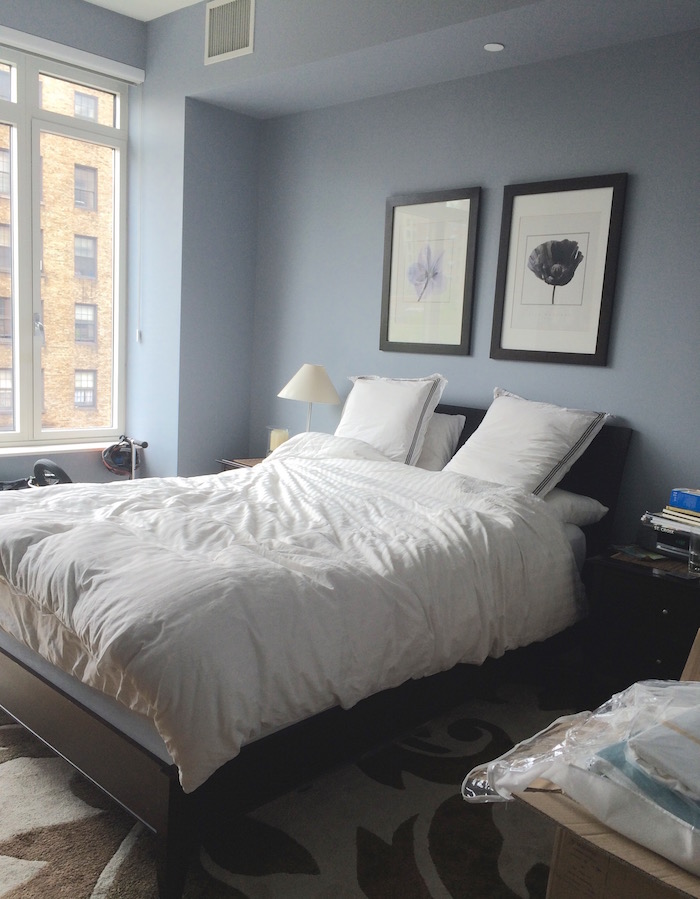
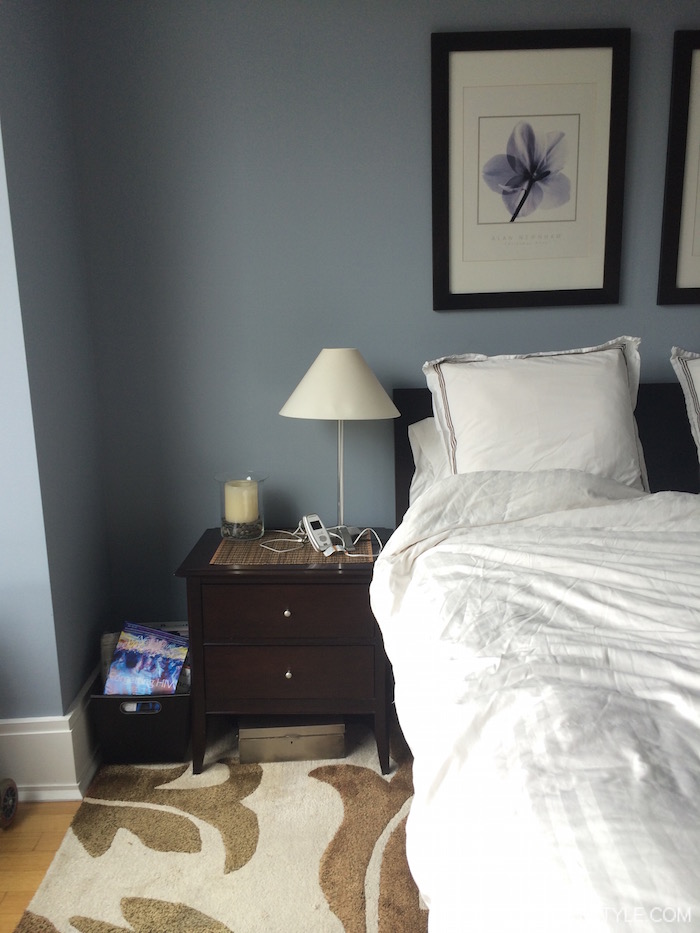
master bedroom before
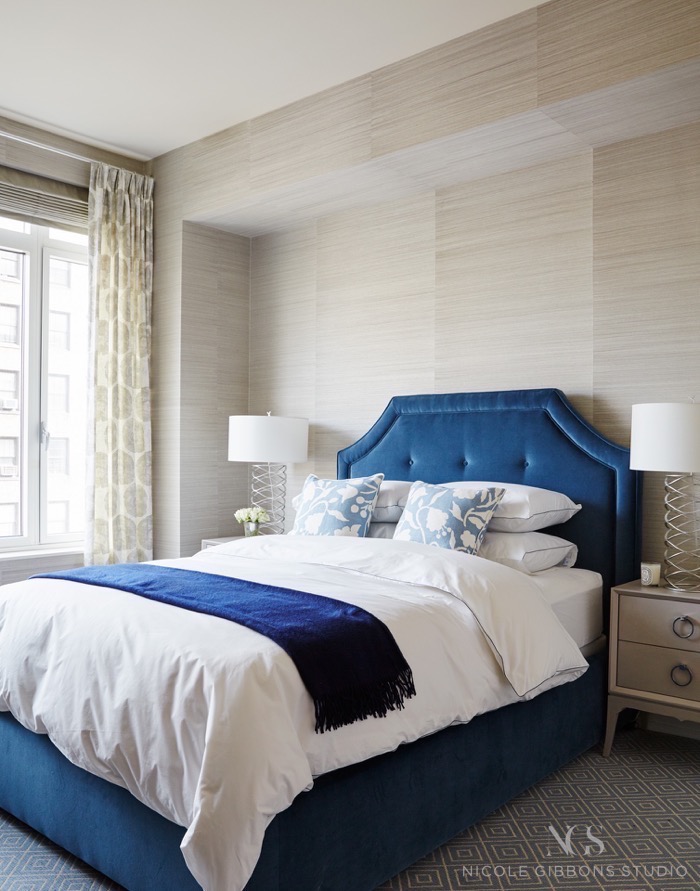
master bedroom after
Before I began the project, the client’s master bedroom decor was fine enough, but didn’t reflect their personal style nor did it have the cozy feeling they hoped for. I added dimension to the room with a neutral grasscloth wallpaper which brings in a lot of texture and a quiet sophistication to the room. A sumptuous blue velvet bed adds a sense of softness to the space while crisp, white hotel bedding from Matouk adds refined and romantic finishing touch. 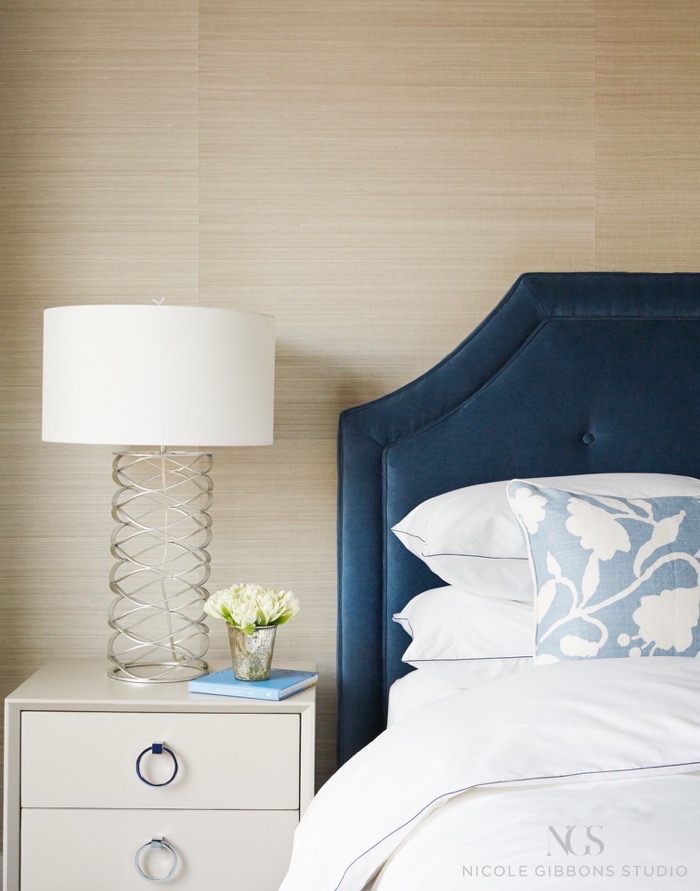
Photos by David Land


10 Comments
Where is the print from above the couch? I’m in love!
Great job on their space!
I wondered the same thing about the print, found this credit on Houzz. Malta Abstract Series. And this pin https://www.pinterest.com/pin/541980136384502880/
This is an awesome upgrade! You have amazing design aesthetic.
hi – what kind of flowers are in the pix? luv them!
Oooooo, awesome upgrade! Everything is looking amazing.
This is an absolutely gorgeous re-design. I have those teal throw pillows in my living room. I’m looking for unique art work and a few more accessories to complete the room. Thank you for the inspiration
I am also all about the living room artwork. Great job !
What a transformation! the place looks modern but cozy. Stylish too!
This transformation is amazing! Looks so gorgeous and stylish indeed!!! Well done! Thanks for sharing this to us!
Pingback: Before & After: A Sunny & Stylish Kids Room Makeover | sohautestyle.com