

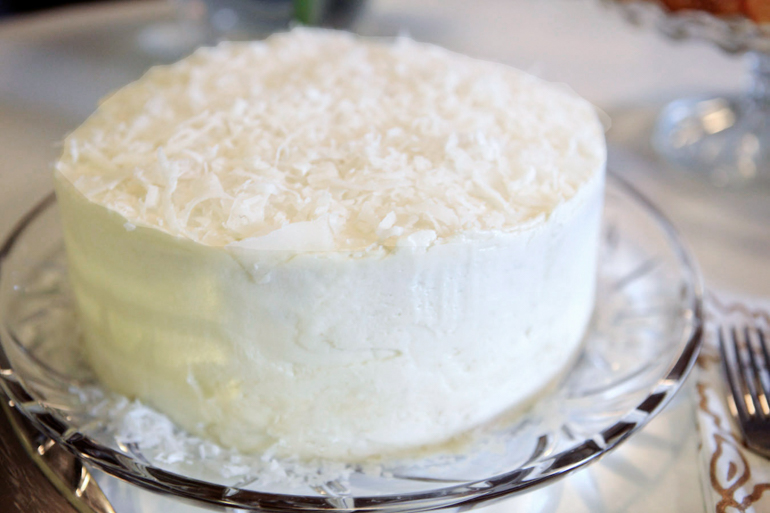
Earlier in the summer I had my best friend and her husband over for a visit and I made them this very decadent, very yummy coconut cake. I garnished it with freshly shaven coconut and let me tell you, this cake was insanity! Here’s the recipe:
Double Layer Coconut Cake
Adapted from Sweets: Soul Food Desserts & Menus by Betty Piner
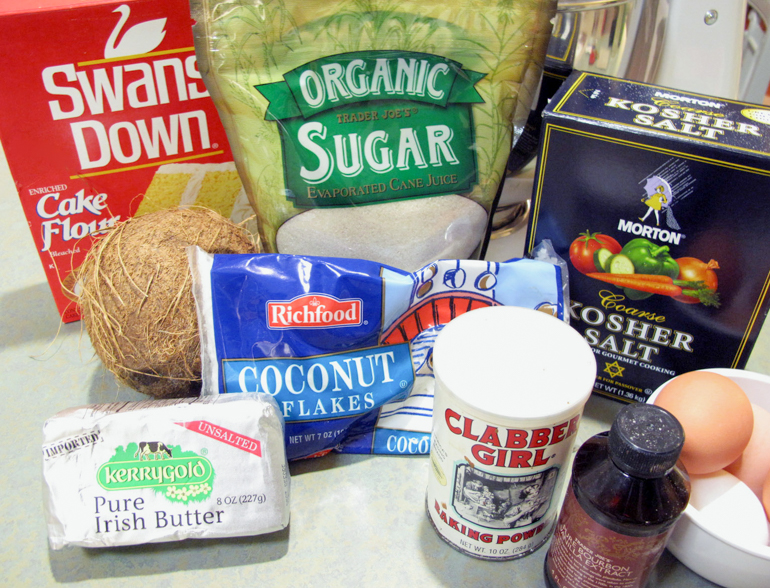
2 sticks (one cup) of unsalted butter, softened
2 cups sugar
4 eggs separated
3 cups sifted cake flower (I prefer Swan’s Down)
2 teaspoons baking powder
1/4 teaspoon salt
1 cup whole milk
1 cup sweetened flaked coconut
2 teaspoons vanilla extract
Vanilla Buttercream Frosting
3 cups confectioner’s sugar
1 cup butter
1 tablespoon heavy whipping cream
Milk as needed
2 cups sweetened flaked coconut for garnish
Preheat oven to 350°F. Grease the bottom and sides of 9-inch round cake pans with butter, then lightly dust with flower. Set aside. In a large bowl, sift together the flour, baking soda and salt. Set aside. In another large bowl, cream together butter and sugar until light and fluffy. Add the egg yolks one at a time, mixing well after each addition. Then alternate adding in the remaining dry ingredients and milk, a little at a time until well blended. Next stir in the coconut and vanilla. (I used store bought coconut for the cake batter, but fresh coconut for the garnish.) In a separate bowl, beat egg whites until stiff peaks form. Then fold the beaten egg whites into the cake batter. Divide the batter evenly between the two cake pans, place in the center of the oven and bake until a toothpick comes out clean, approx 30-40 minutes.
Remove cakes from pan and place on wire racks, tops facing up, to cool completely. While the cake cools, start working on the frosting. Simply add your butter, confectioner’s sugar, vanilla and cream to a large bowl and mix until blended. Add a few drops of milk as needed until you achieve your desired consistency. If your frosting ends up too thin, simply add more confectioner’s sugar, one tablespoon at a time until perfect.
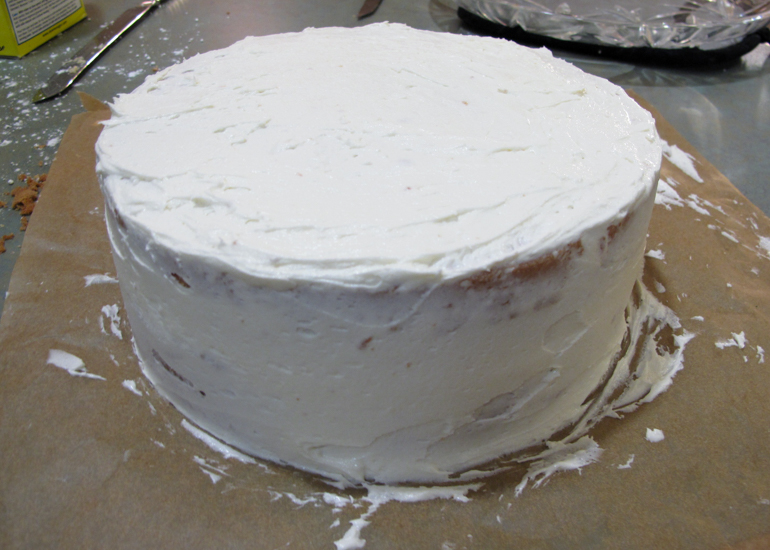
The crumb coat on my coconut cake
Once your cake has cooled, you’ll want to crumb coat your cake. This is an important step to achieving a smoothly iced cake. Before icing your cake, place strips of parchment paper onto your cake stand or platter to keep it clean while icing. Now start applying the frosting on the top of the bottom layer, about a quarter inch thick. Then place your second layer on top. Then apply a thin layer of frosting all around the top and sides of the cake (it doesn’t have to be perfect). This is your crumb coat. It acts sort of like a paint primer, sealing in all of the crumbs and imperfections, so that you can add a smooth and flawless coat of frosting on top. After you’ve finished your crumb coating, place the cake in the refrigerator for approx 20-30 minutes. This will allow the crumb coat to set. Then, add the final layer of frosting to your cake, garnish the top with flaked coconut. You flip when you taste the end result. It’s that good!
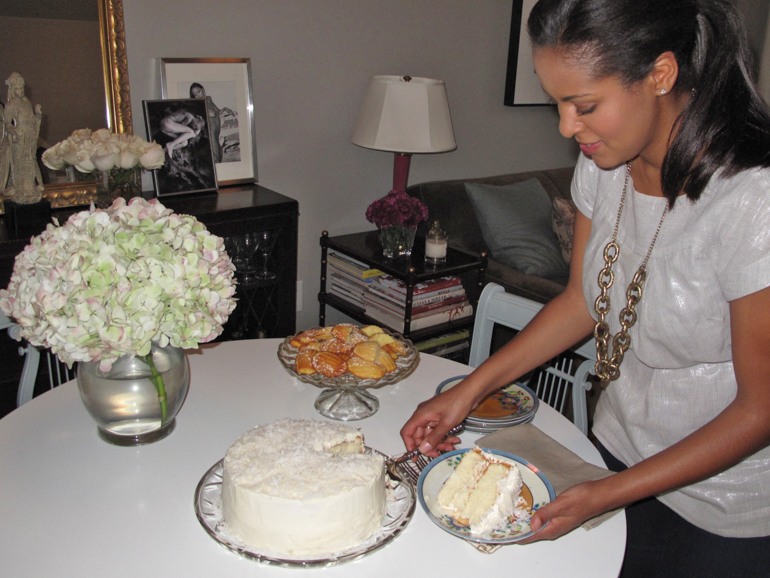
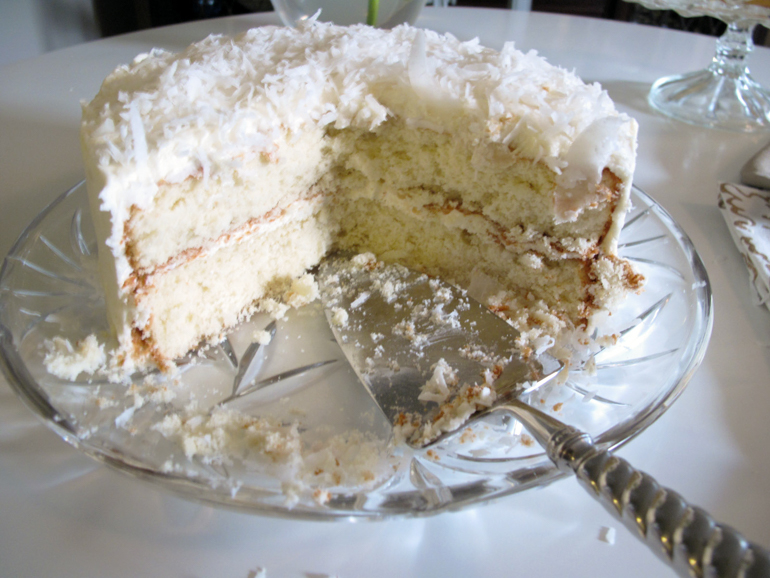
And the aftermath the following morning. For breakfast? You guessed it! More coconut cake! Mmmmm! Here is more on how to prepare and shave a fresh coconut:
How to Prep and Shave a Fresh Coconut
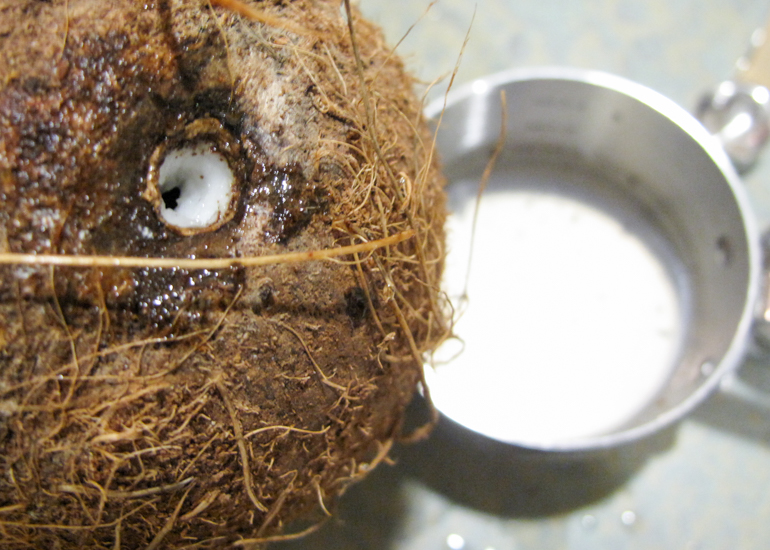
Step 1: Pierce the softest end of the coconut with a skewer or knife and then drain the coconut milk into a bowl. The milk can be used later for any recipe that calls for it.
Step 2: Place the coconut onto a rimmed baking sheet and bake in an oven preheated to 400°F for approx 15 minutes. This will help separate the coconut flesh from the shell.
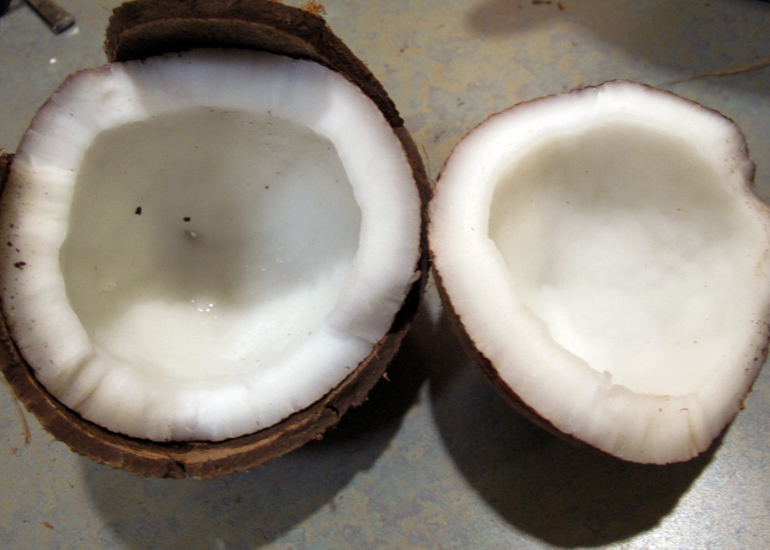
Step 3: Remove the coconut from the oven and then break open the shell by tapping around the center with a hammer. This may require some force!
Step 4: Once your coconut is open, carefully peel the flesh away from the shell with a knife.
Step 5: With a vegetable peeler, peel the brown outer layer off the coconut flesh.
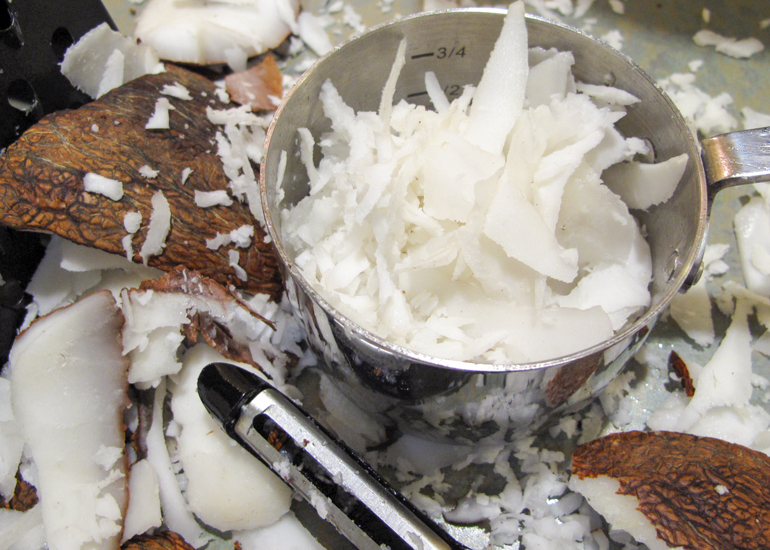
Step 6: Using a box grater or food processor, grate the coconut into shreds. Try not to make a mess like I did!
Step 7: To sweeten, add a few tablespoons of fine sugar to the coconut flakes and mix together. A tip if you’re using the coconut for a garnish is to alternate the size of the shreds. For the garnish I used on my cake, I alternated between a medium and large grater and also hand shaved some pieces with the vegetable peeler. This produced flakes of different sizes which made for a prettier finish.


9 Comments
Yum – your coconut (my favorite!) cake looks absolutely delicious – save me a piece! It looks like you really had to roll up your sleeves with the veggie peeler!
that cake looks great. I’m going to have to try this recipe
Oh, this cake looks SO good! I remember for my 13th birthday I asked my Mom to make me a coconut cake that was shaped like a bunny. It turned out SO cute, but none of my friends liked coconut! haha. There was more for me and my family though!
I might make this for Christmas! Thank you for the recipe and I hope you and your family have a wonderful holiday!
Looks delish!
looks divine!
your coconut (my favorite!) cake looks absolutely delicious – save me a piece! http://www.rapidmediafire.com
When doing the crumb icing is that batch of icing enought to do the whole cake? It just doesn’t look like enough. I’m making this for my mom birthday and want it to be perfect! Thanks
Hi Flora – It was definitely enough for me. Your crumb coat is super light and thin – you don’t need a lot of icing. Hope this helps and good luck!
Ok, thanks for sharing the recipe,I used too much then or my cake was extra crumbly. Hopefully more is better in my case!